
Open Science
Basic principles and best practices
Dr. Domenico Giusti
Paläoanthropologie, Senckenberg Centre for Human Evolution and Palaeoenvironment
Week 4: Reproducible Research and Data Analysis
Outline
- Create a research compendium
- Publish a research compendium (Zenodo / OSF)
Recap week 3
Recap week 3
- Git & GitHub workflow
- Create a repository on GitHub & link it to RStudio
- Write a README.md file
- Choose and apply a license for your repository/R code
- commit & push
- TO DO: Unlock Pull & Push from RStudio!
swirl modules (week 3)
5. Missing Values
NA(not available/missing),NAN(not a number),- Any operation involving NA generally yields NA as the result
is.na()function (logical result)TRUErepresented in R as 1,FALSErepresented in R as 0 (good to know when counting)
swirl modules (week 3)
6. Subsetting Vectors
[]place an 'index vector' in square brackets to subset a vector- 'index vector': logical, positive/negative integers, character
- logical:
x[is.na(x)],x[!is.na(x)] - logical:
x[!is.na(x) & x>0](AND operator) - pos. integer:
x[1:10](first 10 values of x),x[c(3,5,7)](3rd, 5th and 7th values of x) - neg. integer:
x[-c(2, 10)](all values except the 2nd and 10th) - char:
vect["bar"]
- logical:
names()functionidentical()function
Assignments (week 4)
Complete swirl modules '7: Matrices and Data Frames' and '8: Logic' and submit your successful completion via email (domenico.giusti@uni-tuebingen.de)
swirl modules won't count towards your final grade but are highly recommended to follow. Those topics will be covered on the final exam.
Git & GitHub basic workflow - Pull & Push from RStudio
Git w/ RStudio
Start a project in a brand new working directory
- Click the “File” menu button, then “New Project”
- Click “New Directory”
- Click “New Project”
- Type in the name of the directory to store your project, e.g. “test_rr”
- Check "Create a git repository"
- Hit the “Create Project” button!
- Create a new repository on GitHub
git remote add origin git@github.com:dncgst/test10.gitgit branch -M master(NOTE: RStudio names the principal branchmaster; GitHub recently renamed itmain)git push -u origin master- Restart RStudio after you run
git push -u origin masterfrom the command line
Git w/ RStudio
Associate a project with an existing working directory
- Click the “File” menu button, then “New Project”
- Click "Existing Directory"
- Browse your project working directory
- Hit the “Create Project” button!
- Click the "Tools" menu button, then "Project Options..."
- Select "Git/SVN" from the menu on the left
- Version control system: Select "Git" from the dropdown menu
- Create a new repository on GitHub
git remote add origin git@github.com:dncgst/test10.gitgit branch -M master(NOTE: RStudio names the principal branchmaster; GitHub recently renamed itmain)git push -u origin master- Restart RStudio after you run
git push -u origin masterfrom the command line
Git w/ RStudio
Checkout a project from a version control repository
- Click the “File” menu button, then “New Project”
- Click "Version Control"
- Click "Git (Clone a project from a Git repository)"
- Type the repository URL: (e.g. git@github.com:dncgst/test12.git)
- Type the Project directory name: (e.g., test12)
- Hit the “Create Project” button!
- Branch named
mainalso in RStudio - Origin added during the cloning process
Git w/ RStudio
Configure Git wo/ Shell
install.packages('usethis')
library('usethis')
usethis::use_git_config(user.name = "dncgst", user.email = "dncgst@autistici.org")
usethis::edit_git_config()
Git w/ RStudio
Create a Personal Access Token (PAT) on GitHub
The best way to connect RStudio and GitHub is using your username and a Personal Access Token (PAT). To generate a personal access token, use the
create_github_token()function from usethis. This will take you to the appropriate page on the GitHub website, where you’ll give your token a name and copy it (don’t lose it because it will never appear again!). How to Use Git/GitHub with R
library('usethis')
usethis::create_github_token() # accept default settings and generate the token
# copy the generated token
install.packages('gitcreds')
library('gitcreds')
gitcreds_set()
# enter your copied token
Git w/ RStudio
Start a project in a brand new working directory
- Click the “File” menu button, then “New Project”
- Click “New Directory”
- Click “New Project”
- Type in the name of the directory to store your project, e.g. “test_rr”
- Check "Create a git repository"
- Hit the “Create Project” button!
- Do you first commit
library(usethis)- use the
use_github()function, which will create a GitHub repo and connect it to your current RStudio project
Create and publish a research compendium
What is a research compendium?
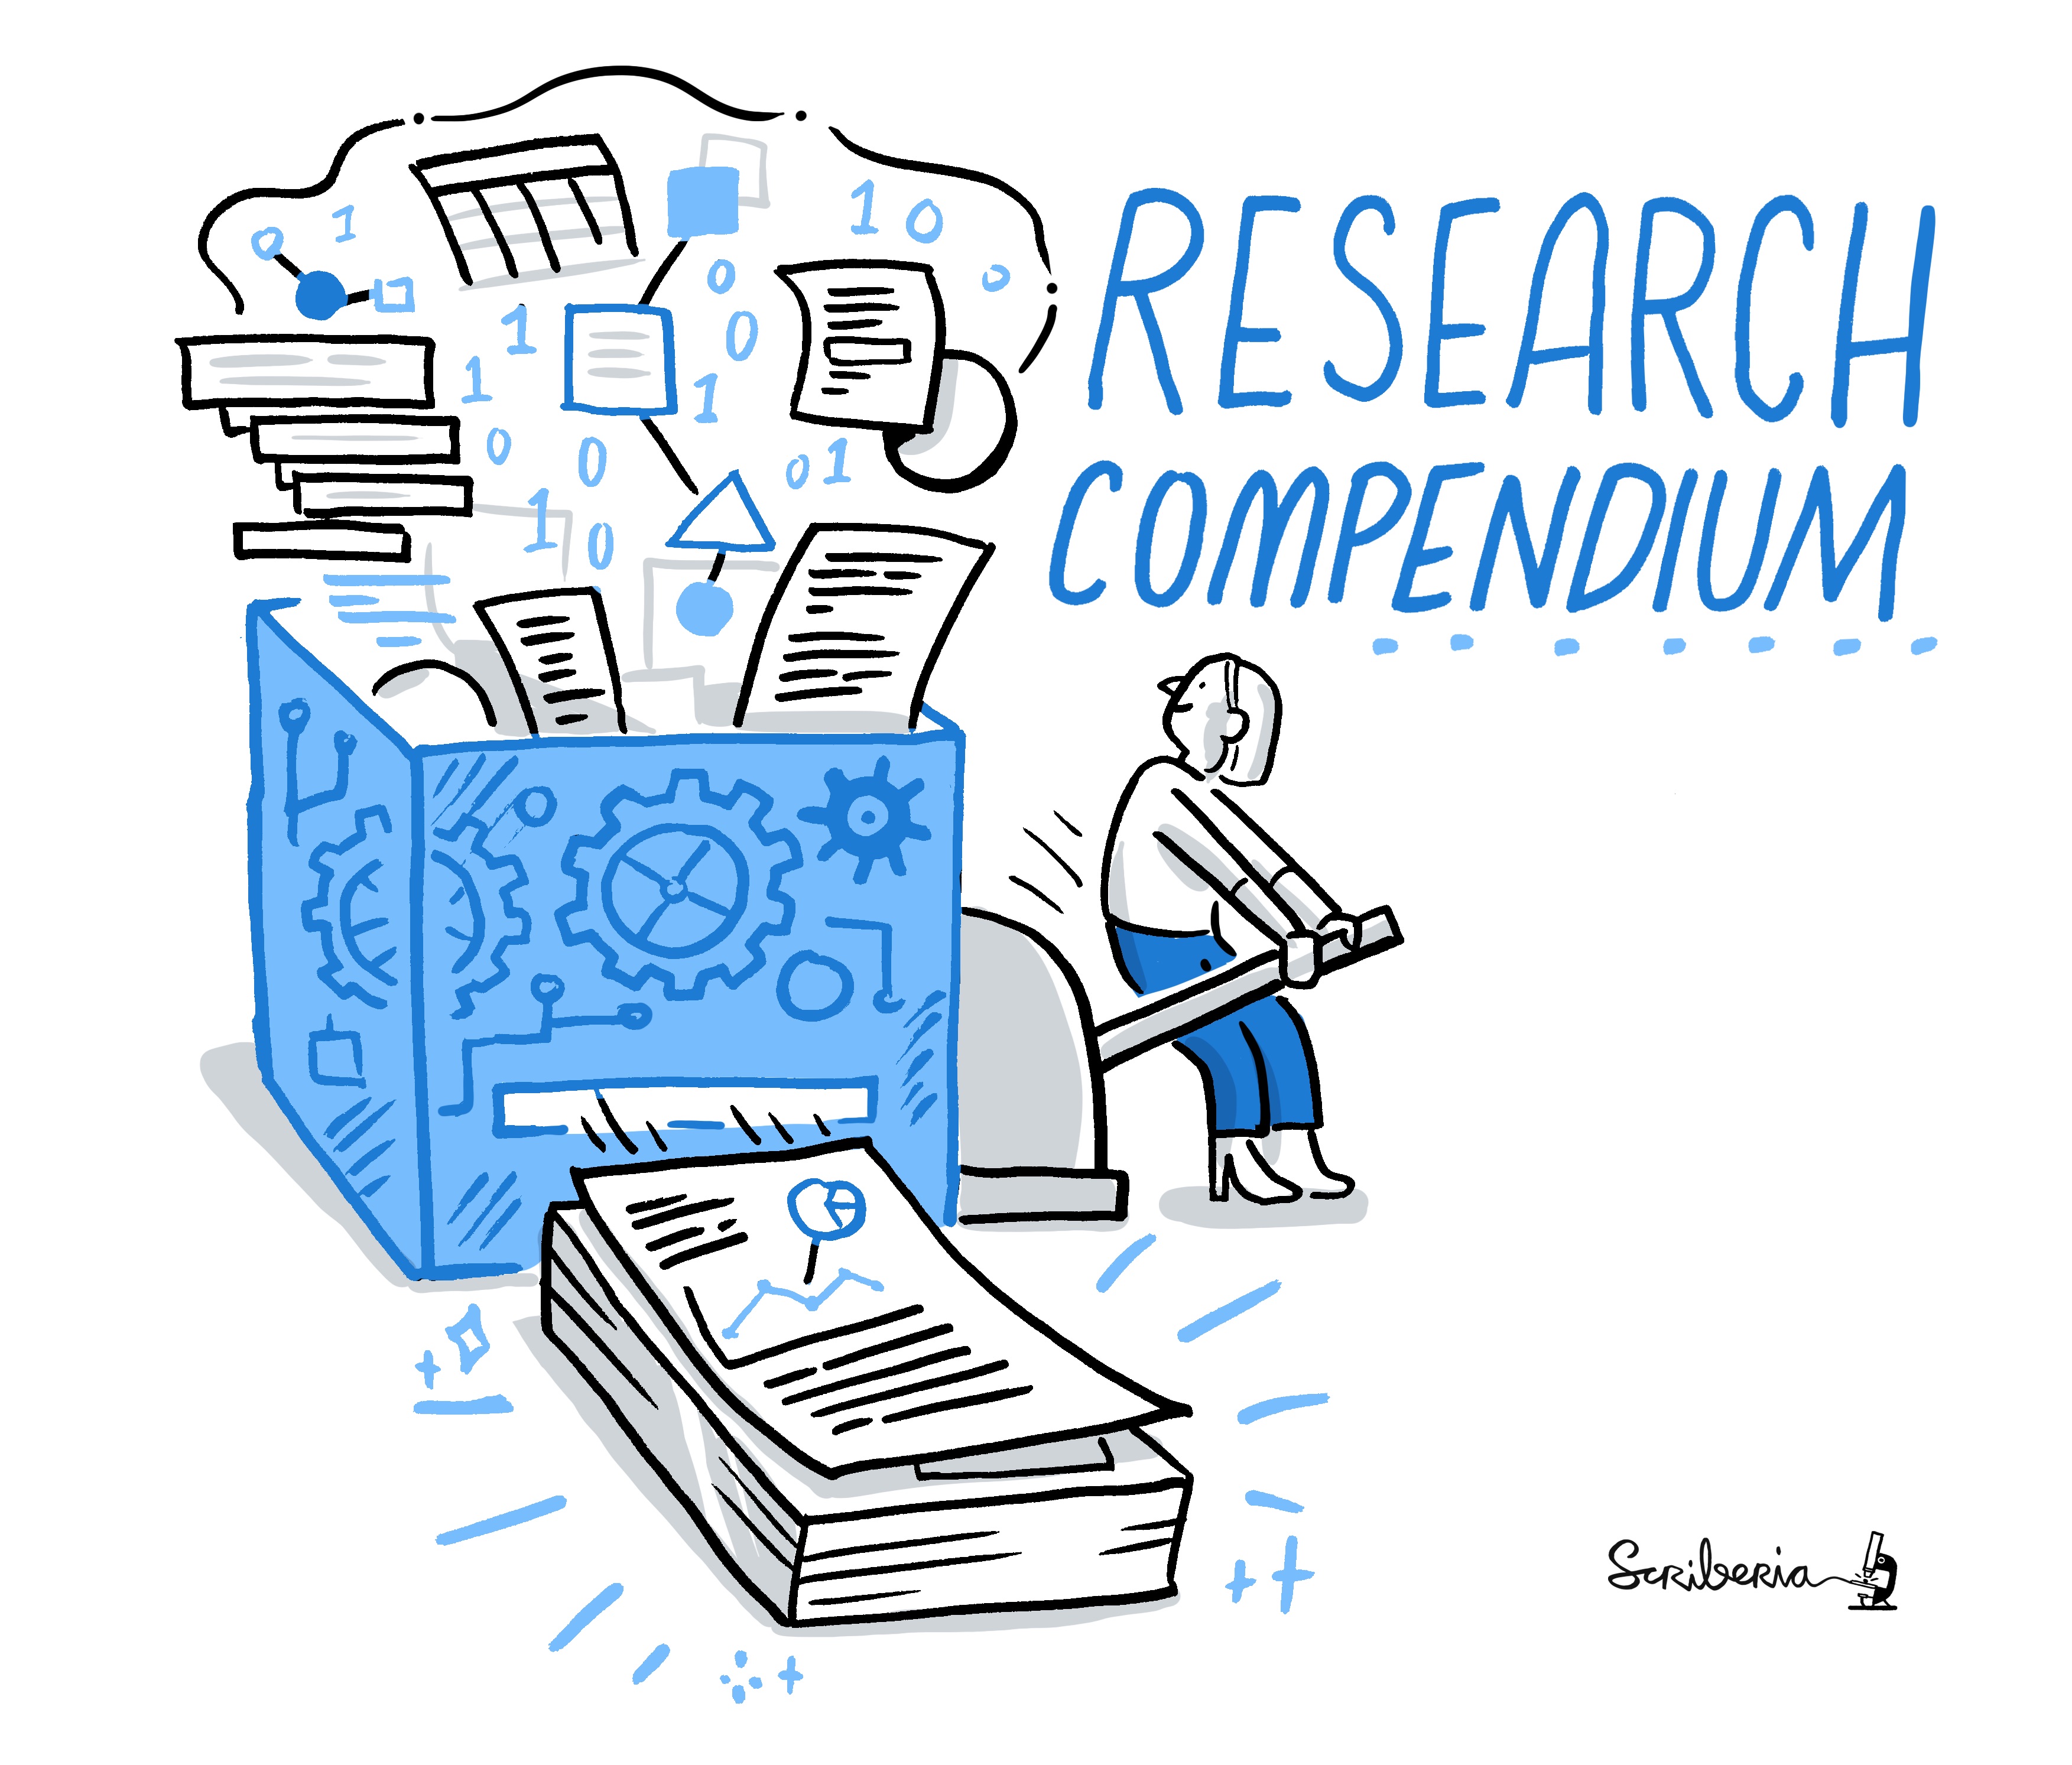
This image was created by Scriberia for The Turing Way community and is used under a CC-BY licence
- A research compendium is a collection of all digital parts of a research project including data, code, texts.
- A research compendium can be constructed with minimal technical knowledge (a basic folder structure combining all components can be sufficient).
- Publishing your research paper along with a research compendium allows others to access your input, test your analysis, and, if the compendium can be executed, rerun to assess the resulting output. This does not only instill trust in your research but can give you more visibility.
Structure of a Research Compendium
Three principles should be kept in mind when constructing a research compendium.
- Files should be organized in a conventional folder structure;
- Data, methods, and output should be clearly separated;
- The computational environment should be specified.
- Research Compendium contains links to further resources and publications on research compendia
Basic Compendium
compendium/
├── data
|   ├── raw_data.csv
│   ├── my_data.csv
├── figures
│   └── fig1.jpg
├── src/analysis
│   ├── my_script.R
|   ├── fig1.R
├── text/doc
│   └── manuscript.Rmd
├── DESCRIPTION
├── LICENSE
└── README.md
Executable Compendium
It contains code, data, text, figures + the computing environment is described in the Dockerfile, the dependencies of files and how to automatically generate the results are described in the Makefile (e.g., benmarwick/1989-excavation-report-Madjedbebe).
compendium/
├── data
│   ├── my_data.csv
├── Dockerfile
├── figures
│   └── fig1.jpg
├── Makefile
├── src/analysis
|   ├── fig1.R
├── text/doc
│   └── manuscript.Rmd
├── DESCRIPTION
├── LICENSE
└── README.md
Create a Research Compendium w/Docker
A version control repository can be a research compendium; A Makefile makes it executable; A reproducible environment makes it reproducible.
A Docker container can be seen as a computer inside your computer. The cool thing about this virtual computer is that you can send it to your friends; And when they start this computer and run your code they will get exactly the same results as you did.
- Get Docker https://docs.docker.com/get-docker/
- "Docker is an open platform for developing, shipping, and running applications. Docker enables you to separate your applications from your infrastructure so you can deliver software quickly."
- Follow this tutorial: https://jsta.github.io/r-docker-tutorial/ -
Publish a Research Compendium w/ Zenodo
- Log in w/ GitHub
- Settings / GitHub
- Flip the switch
- Create a release
- Get the badge (DOI)
- Edit upload and add some METADATA
- Publish
Use a Research Compendium
A research compendium can be used in several ways, including (but not limited to):
- Peer review: If peers can check what you have done, they can review it much more thoroughly.
- Understanding research: If you really want to understand what someone has done in their research project, the research compendium is what you need to look at.
- Teaching: Research compendia can be great examples to be used in teaching.
- Reproducibility studies / repro hacks: A research compendium allows other researchers to attempt (and hopefully succeed) to redo your computations.